
Create to a Theme
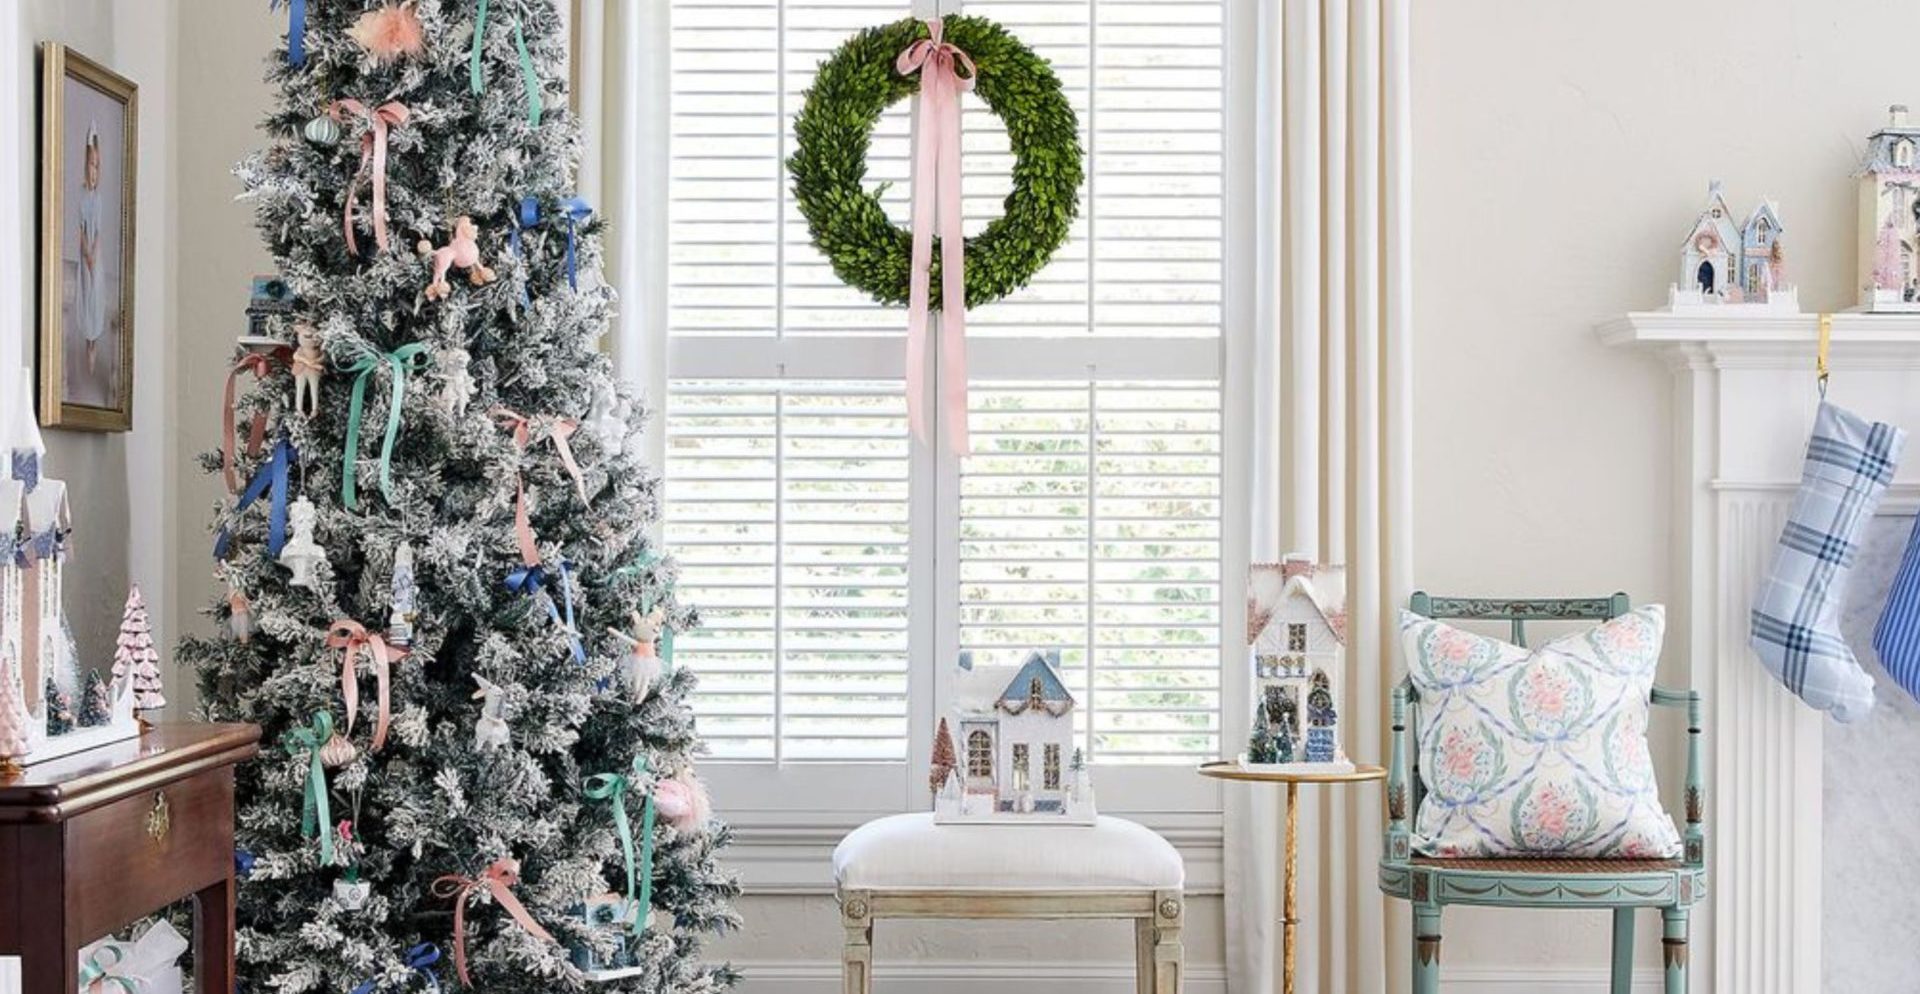
Start with a theme – it’s like your roadmap to a stunning, well-coordinated tree. You could go for a food-themed extravaganza featuring popcorn garlands and cinnamon dough ornaments, or a vibrant rainbow-themed spectacle with large colorful baubles. Need ideas? The internet is your treasure trove of inspiration.
Trends this year lean towards frosty blue trees and vintage vibes, but classic themes never lose their charm. Picking a theme will give your tree that professionally designed, full-bodied look. Stick to a color scheme and throw in a rustic, traditional, or timeless touch to your decorations.
Mix and match ornaments, garlands, tree toppers, ribbons, and bows for a rich, layered effect. Start ornament placement from the top, working downwards, and don’t forget to take a step back now and then to adjust as needed.
For a lush, even look, envision a diamond shape: larger ornaments nestled towards the center, smaller ones at the branch ends. The best time to hunt for new decorations might be during the Christmas tree Black Friday sales!

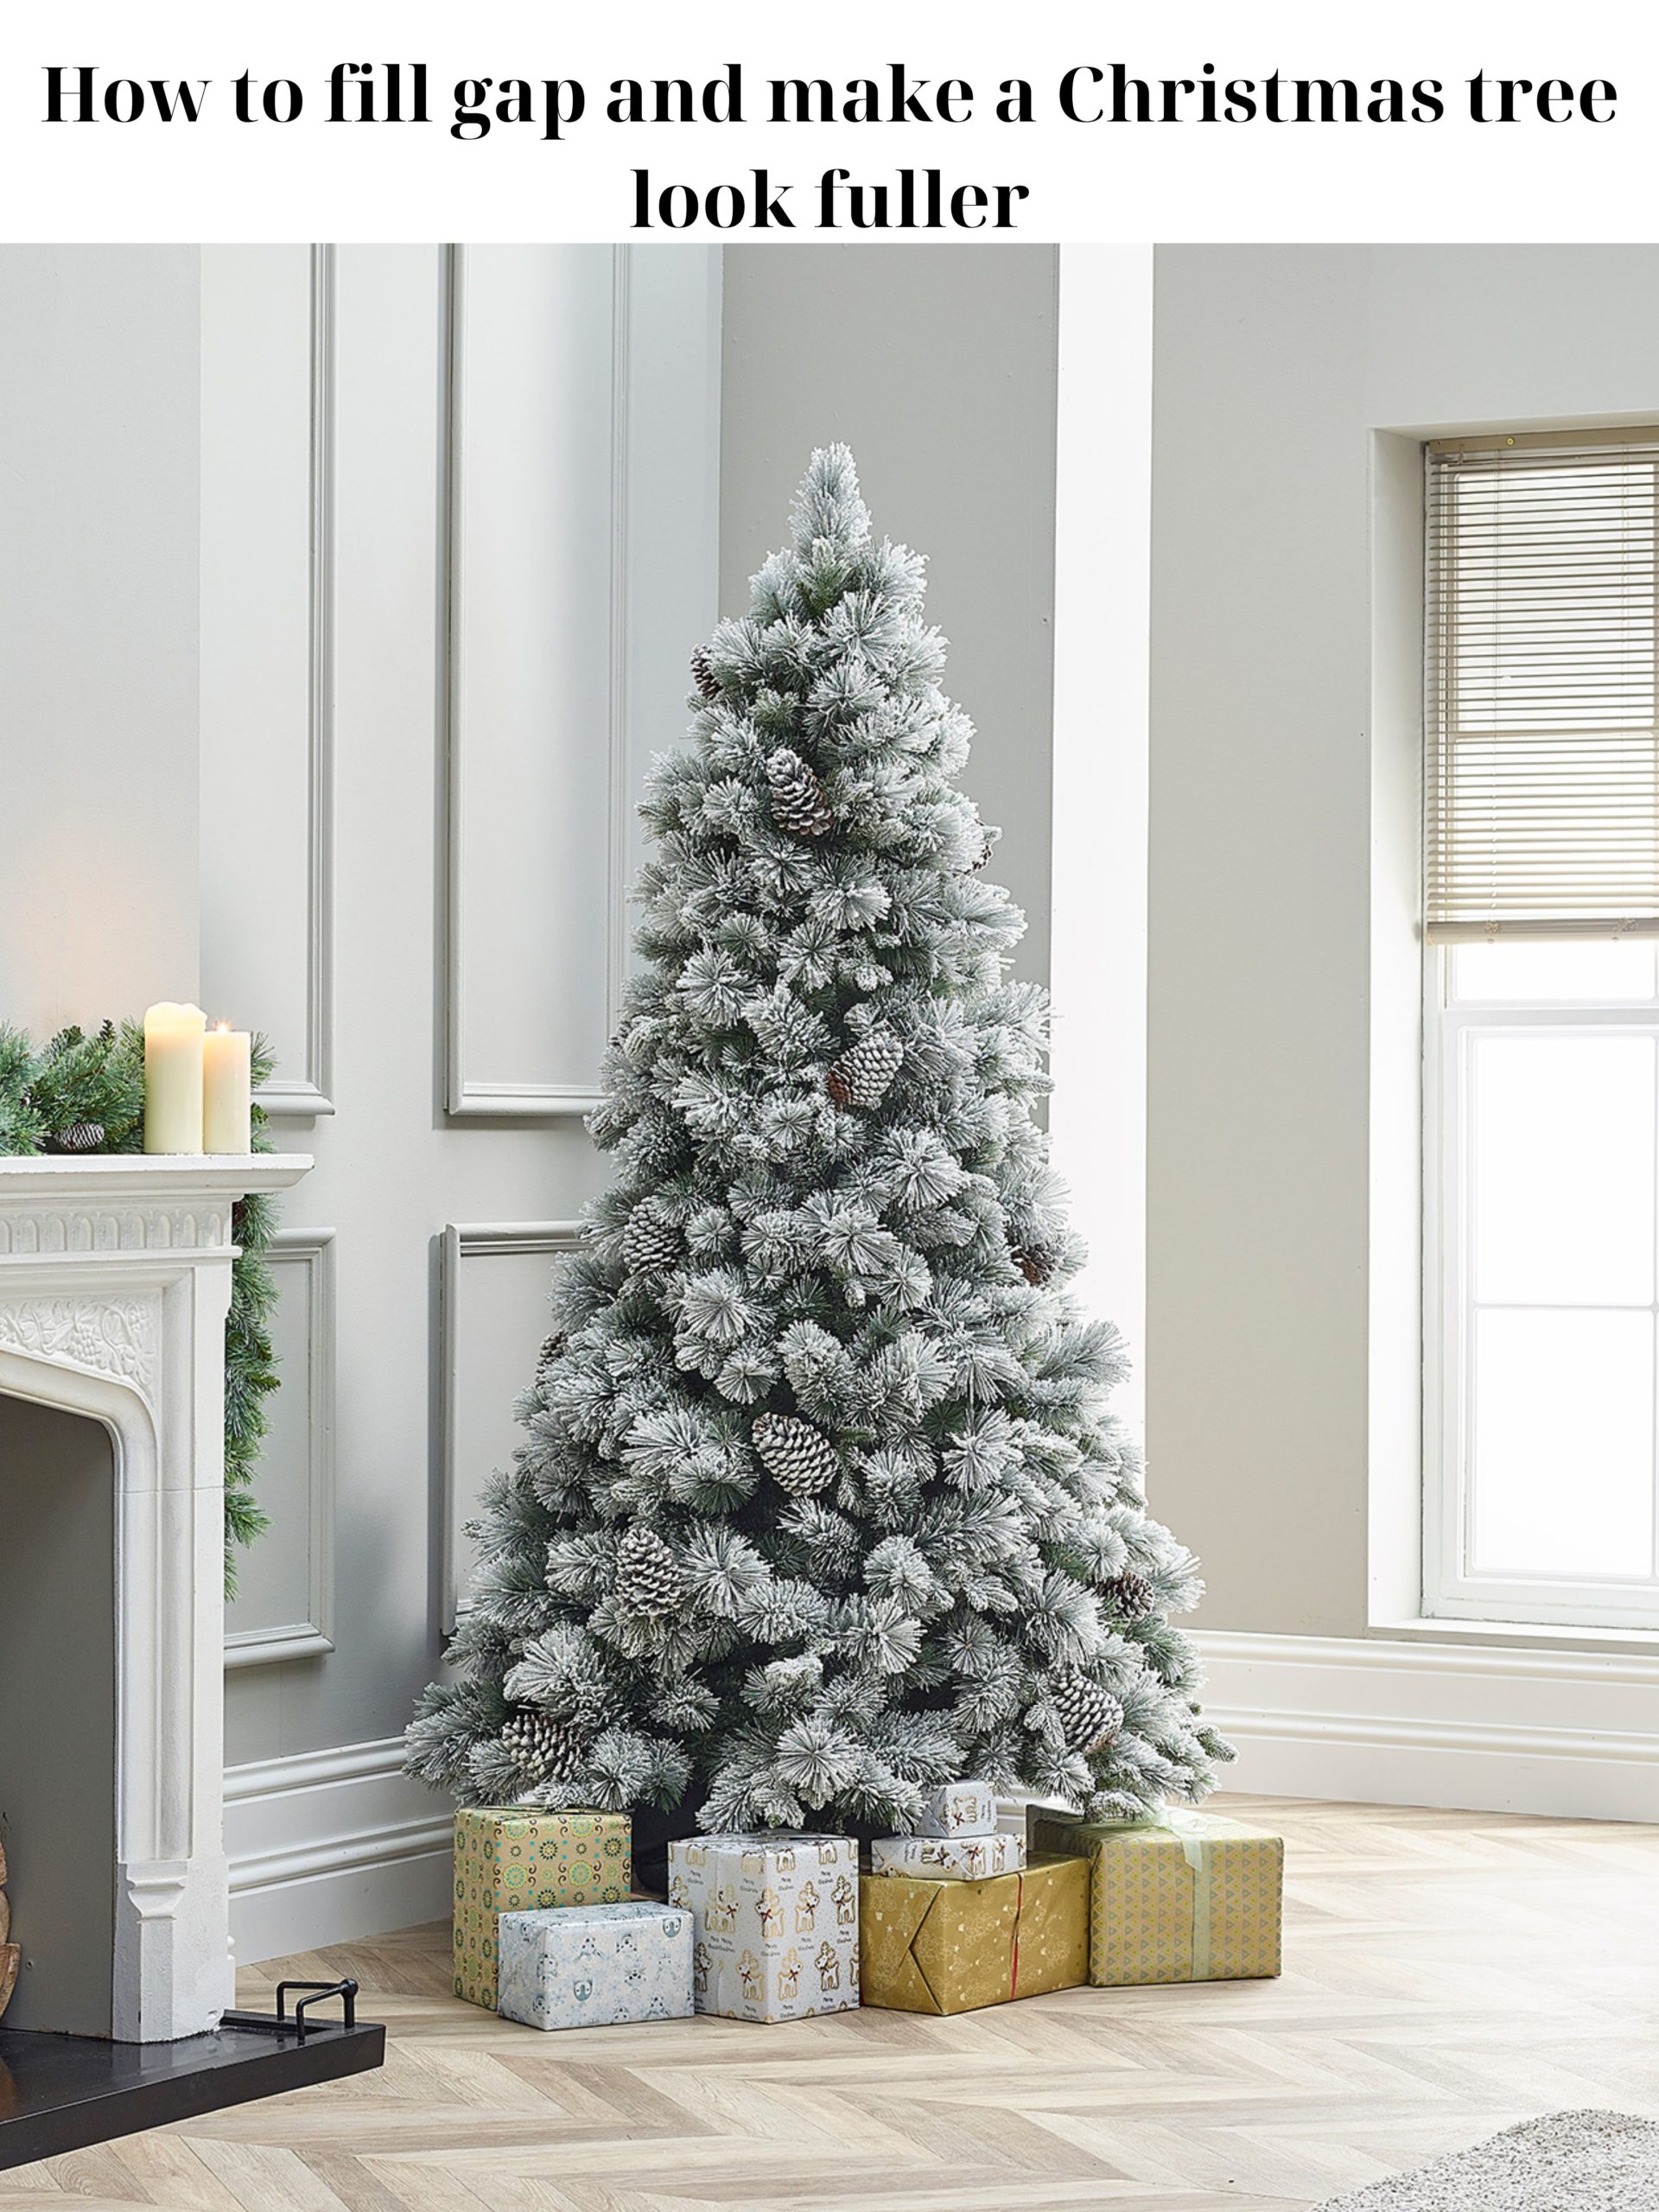
Select a High-Quality Tree. Consider a flocked tree
A tree of good quality will provide reliable and sturdy support for your decorations, lasting longer and enduring repeated uses. Opt for trees made with high-quality materials as they tend to look more realistic, while cheaper ones appear obviously fake.
– For a timeless option, go for a traditional-looking tree rather than a trendy one that may become outdated in a few years. This way, you can get more use out of it and create a great base layer for your decorations.
– Consider getting a pre-lit tree to save time. These trees eliminate the hassle of untangling lights or testing each strand due to a burned-out bulb. The only drawback is that you won’t be able to choose or change the lights unless you add additional strands.
When it comes to the size of the tree, seven-foot trees are popular, but it’s important to prioritize finding one that fits your space. If you have a tight space, a slim Christmas tree with a pencil design might be a better fit.
To make setup and storage easier, choose a tree with convenient setup and storage capabilities to prevent yearly wear and tear. If you love the smell of a real Christmas tree, there are various types available that you can find at markets, tree farms, or DIY stores.
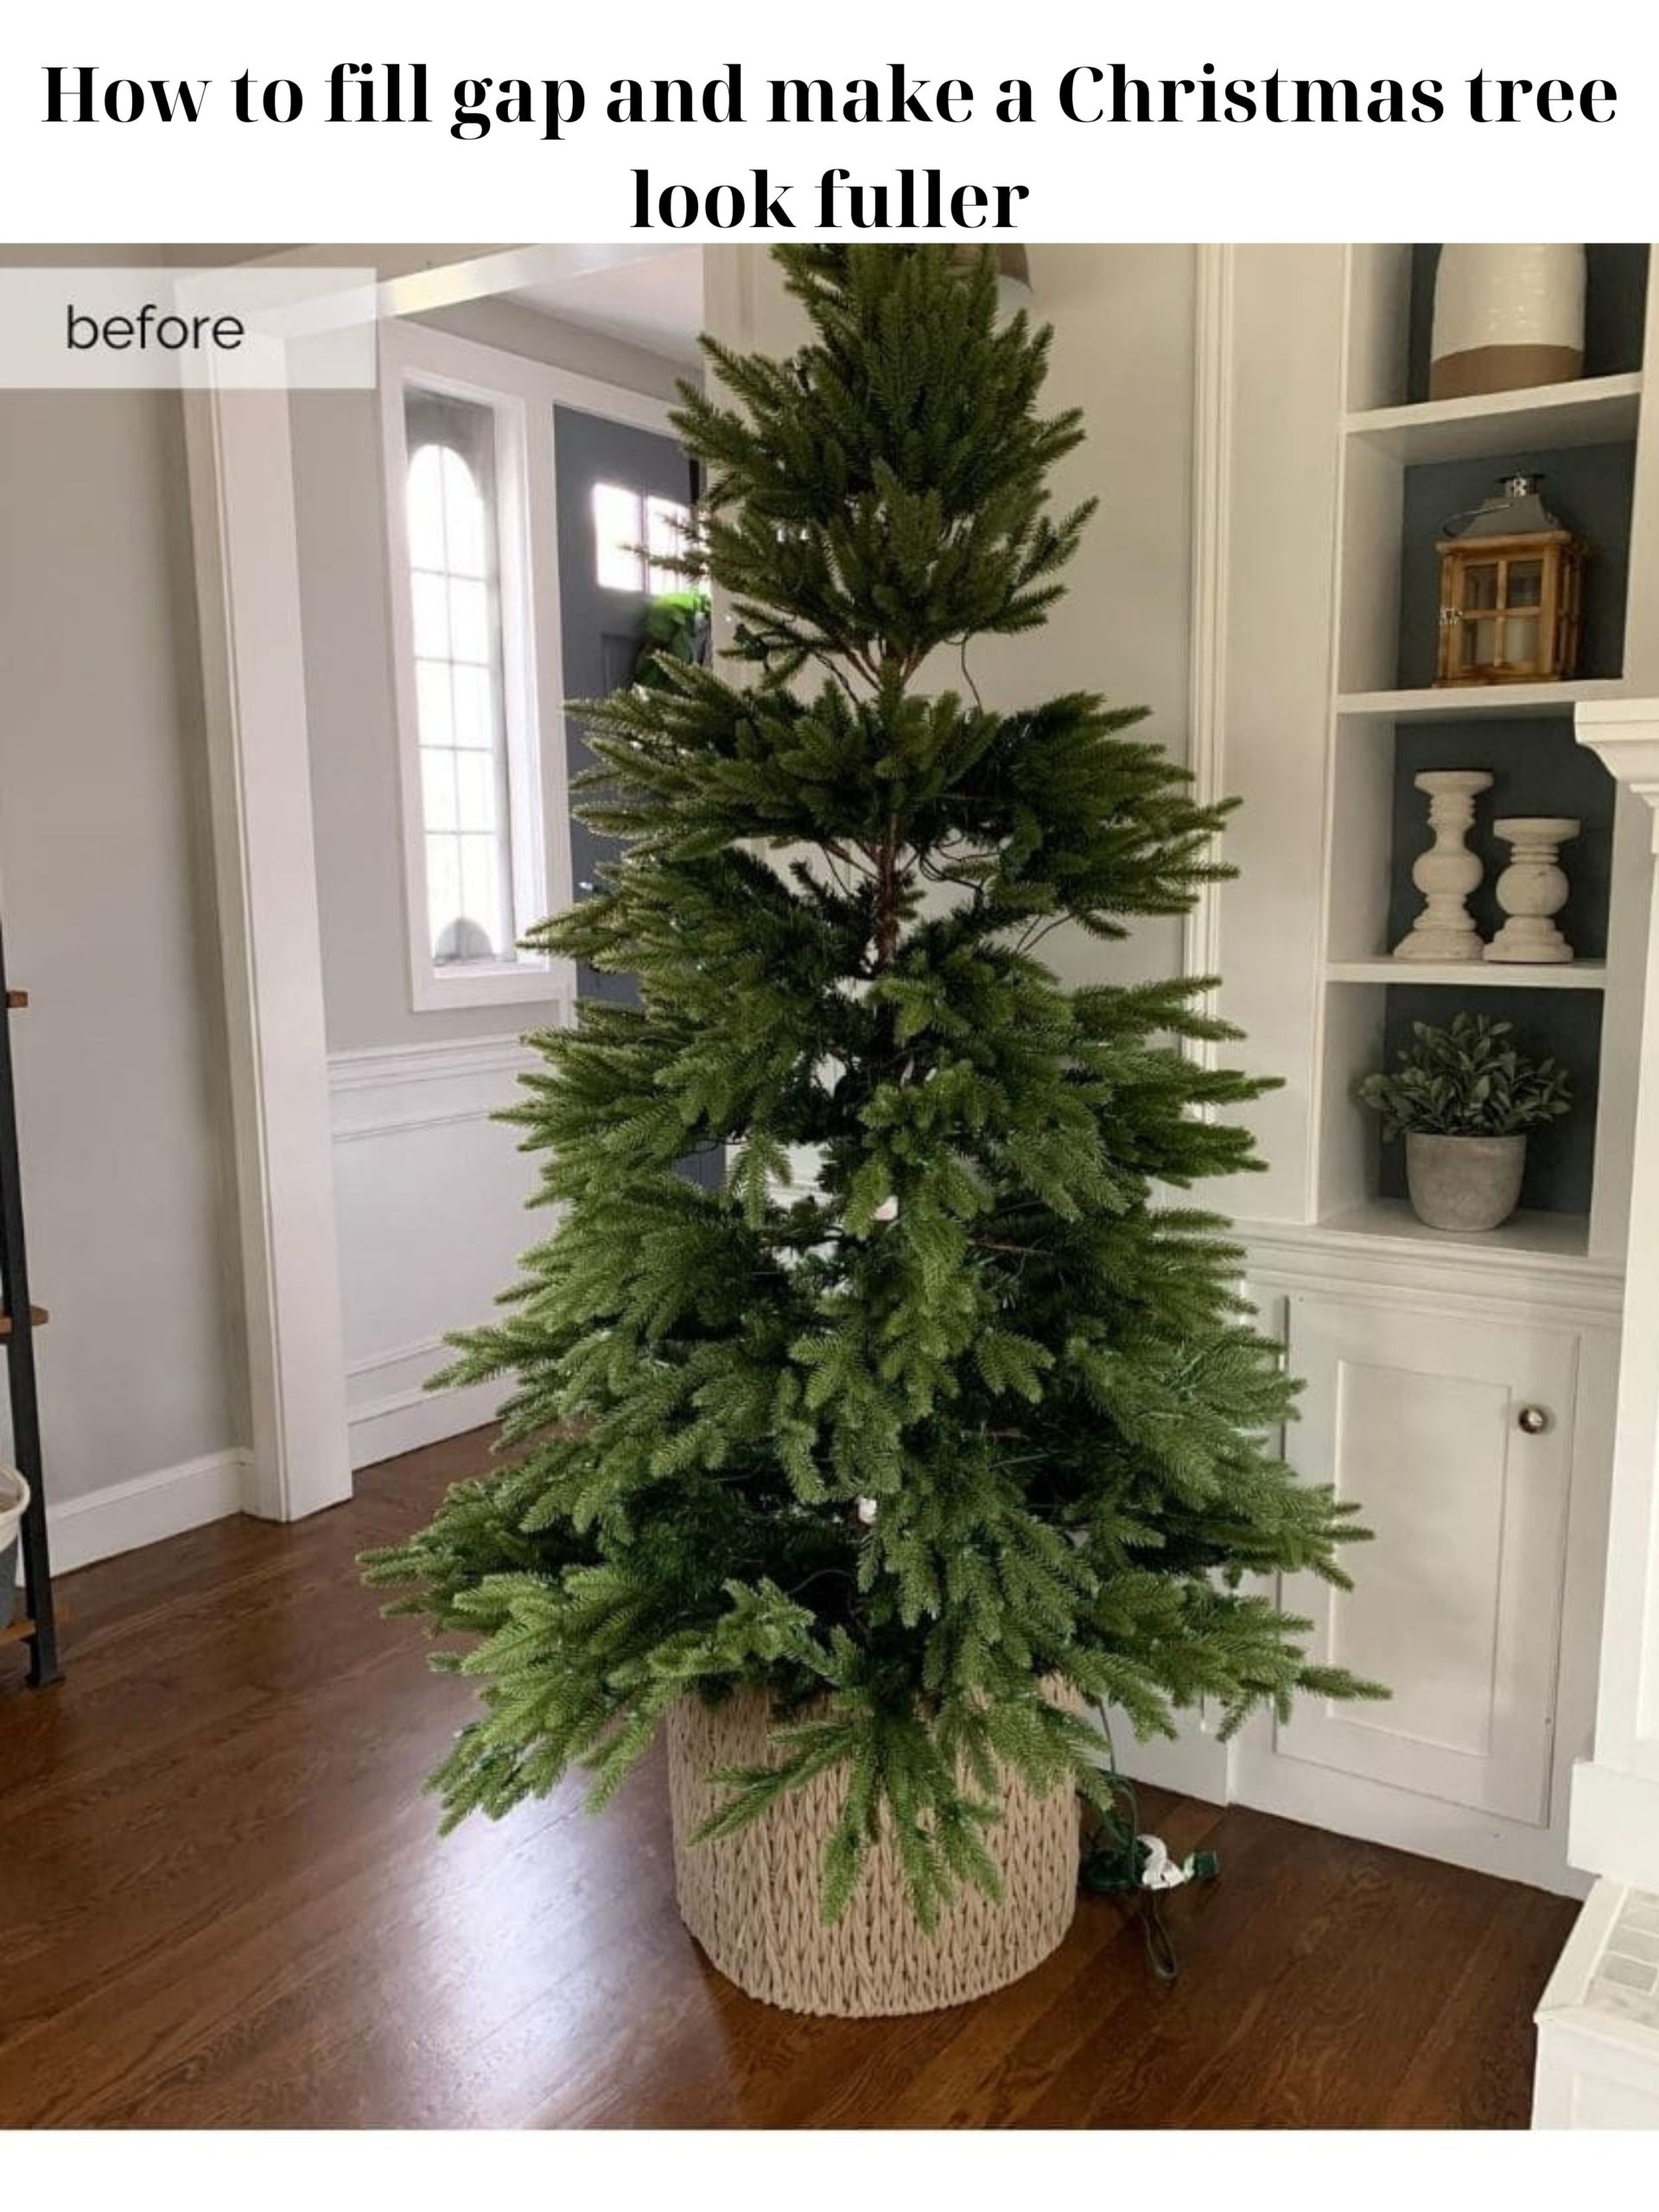
Shape and Fluff the Branches
Start by separating each branch and fanning them out to cover as much area as possible, ensuring there are no gaps.
– Take breaks and step back to assess the tree from across the room, identifying areas that need more work. If you’re unsatisfied with the tree’s appearance, consider purchasing individual branches to fill in gaps and create a fuller look.
– Keep in mind that fluffing is crucial for both real and artificial trees, as branches can become flattened during transport or storage. Prioritize shaping and fluffing before adding any decorations, working around the entire tree and gently bending the branches if necessary.
A fresh tree will have flexible branches. Fluffing up each branch of an artificial tree is especially important, as flattened pine needles and scrunched branches create bare patches.
– By taking the time to fluff the branches, you’ll bring your tree back to life and create more space for ornaments.

Boost foliage
Sure thing! Shape and fluffing the branches of your Christmas tree is an important step to make it look full and vibrant. Whether you have a real tree or an artificial one, adding extra foliage can make a big difference.
You can use dried or realistic artificial foliage to fill any gaps and create a more generous appearance. Don’t worry if the foliage is different from that of the tree; different textures can add interest and bring a natural element to your tree.
If you need to cluster elements together, you can use floral wire to hold the sprigs in place. As the holidays approach, consider adding fresh foliage and blooms to further enhance the shape and appeal of your tree.
And don’t forget about Christmas tree picks! Adding picks with white or red berries, colored leaves, or clusters of balls will provide a finishing touch and draw the eye.
Tuck in Real Branches
You can add real pine branches from your backyard as long as they have a similar color to your tree. Distribute the branches evenly throughout to maintain a balanced look. This will add texture and create a more natural aesthetic.
Begin With the Lights
If you don’t want a pre-lit tree or simply want the joy of customizing it yourself, you’ll need Christmas tree lights. Experts recommend using five meters of lights or 100 bulbs for every 2 ft of tree. For instance, a 6-foot tree will require 300 bulbs or 15 meters of lights.
Starting with the lights makes decorating the tree easier, and the soft, warm glow always sets a festive mood. Professionals suggest beginning with the plug and wrapping the lights around the trunk, working up from the center of the base.
Then, continue wrapping the lights evenly around the branches closest to the trunk, weaving them up from the middle of the tree’s crown. Once you reach the crown, weave the lights down while arranging them outward on the branch.
Keep doing this until you reach the tip. Weaving involves positioning the bulb under a branch, then going over the next one, and continuing until the tree is fully covered.

Decorate with lights
To decorate your Christmas tree with lights, start by using the plug as your starting point. Begin wrapping the lights around the trunk, working your way up from the center of the base. Make sure to wrap the lights at even intervals around the branches that are closest to the trunk. Continue weaving the lights up from the middle of the tree’s crown.
As you reach the crown, start weaving the lights down while arranging them outwards on the branches. Keep repeating this process until you reach the tip of the tree. The weaving technique involves positioning the bulb under a branch, then going over the next, and continuing until you have covered the entire tree.
Remember that using a sufficient number of lights is crucial. Aim for a minimum of 100 lights per vertical foot (30cm) of the tree to ensure a fuller look. Place the lights not only around the edges but also strategically position them to shine from the inside of the tree. This will give the impression of depth and make your tree appear fuller.
Always put the lights in place before adding ornaments or other decorations to avoid any hindrance. Once you have wrapped the string lights around the tree, switch them on to ensure they are shining from the tree’s interior and adjust their position as needed for a balanced look.
Vary Your Christmas Light Size
String both sets of lights on your tree, with one string being mini lights and the other a more traditional size. Personally, I prefer using incandescent bulbs for one of the light strings as it gives a more traditional tree look.
If you have a pre-lit skinny Christmas tree like I do, simply adding a couple of strands of these larger bulbs around the tree can make a huge difference. It adds more body and branch fullness to the artificial tree that may have looked sparse to begin with.
The second set of lights brings dimension to the tree, making it beautiful and bright. You can even use colored lights if you prefer. The secret lies in using the bigger set of lights.
Add Floral Picks
You can add floral picks to your Christmas tree to enhance its appearance. If your tree is sparse or uneven, try placing pine picks in the bare spots. This simple trick gives your tree a fuller look and adds a unique touch. Floral picks with pine cones can serve as both decorations and branch fillers, making them a perfect addition to your tree.
Drape a greenery garlands go for Sparse Areas
To make a Christmas tree look fuller, go for greenery garlands. They work wonders for sparse areas on the tree, adding width and making it more substantial. Subtle foliage-style garlands are a great option, but you can also consider brightly colored versions for a bigger impact.
Don’t be surprised if your guests mistake your faux tree for the real deal after fluffing the branches, adding fresh garlands, and making it smell like pine.
Balance the Look with Christmas Fillers
When you’re decorating your Christmas tree with ornaments and lights, it’s important to make sure it looks balanced. Pay attention to any obvious gaps or spaces within the tree, and start arranging the decorations from the top down.
If you do happen to notice any gaps or spaces, don’t worry! You can use Christmas tree fillers to add some volume and make your tree look fuller. Get creative with these fillers – you can add more branches, larger ornaments, pinecones, or anything else you can think of.
The ultimate goal is to create a natural and lush-looking Christmas tree. By using fillers effectively, you can achieve that desired look and make your tree truly beautiful.
Add an Authentic Scent
Adding an authentic scent to your pine tree goes beyond its appearance. You can easily identify a real pine tree by its delightful woodsy fragrance. To achieve the same effect, consider using pine-scented stick ornaments discreetly placed at the back of the tree. Alternatively, you can opt for pine needle essential oils or light a pine-scented candle in the room for a more natural solution.
Spritz It With Fake Snow
Spraying the branches of your tree with a light dusting of artificial snow can spruce up lackluster branches. Remember to take the tree outside and consider where snow would naturally hit the tree. Concentrate on the top of each branch for a realistic effect. Afterward, allow the tree to settle and the fumes to dissipate before bringing it back indoors.
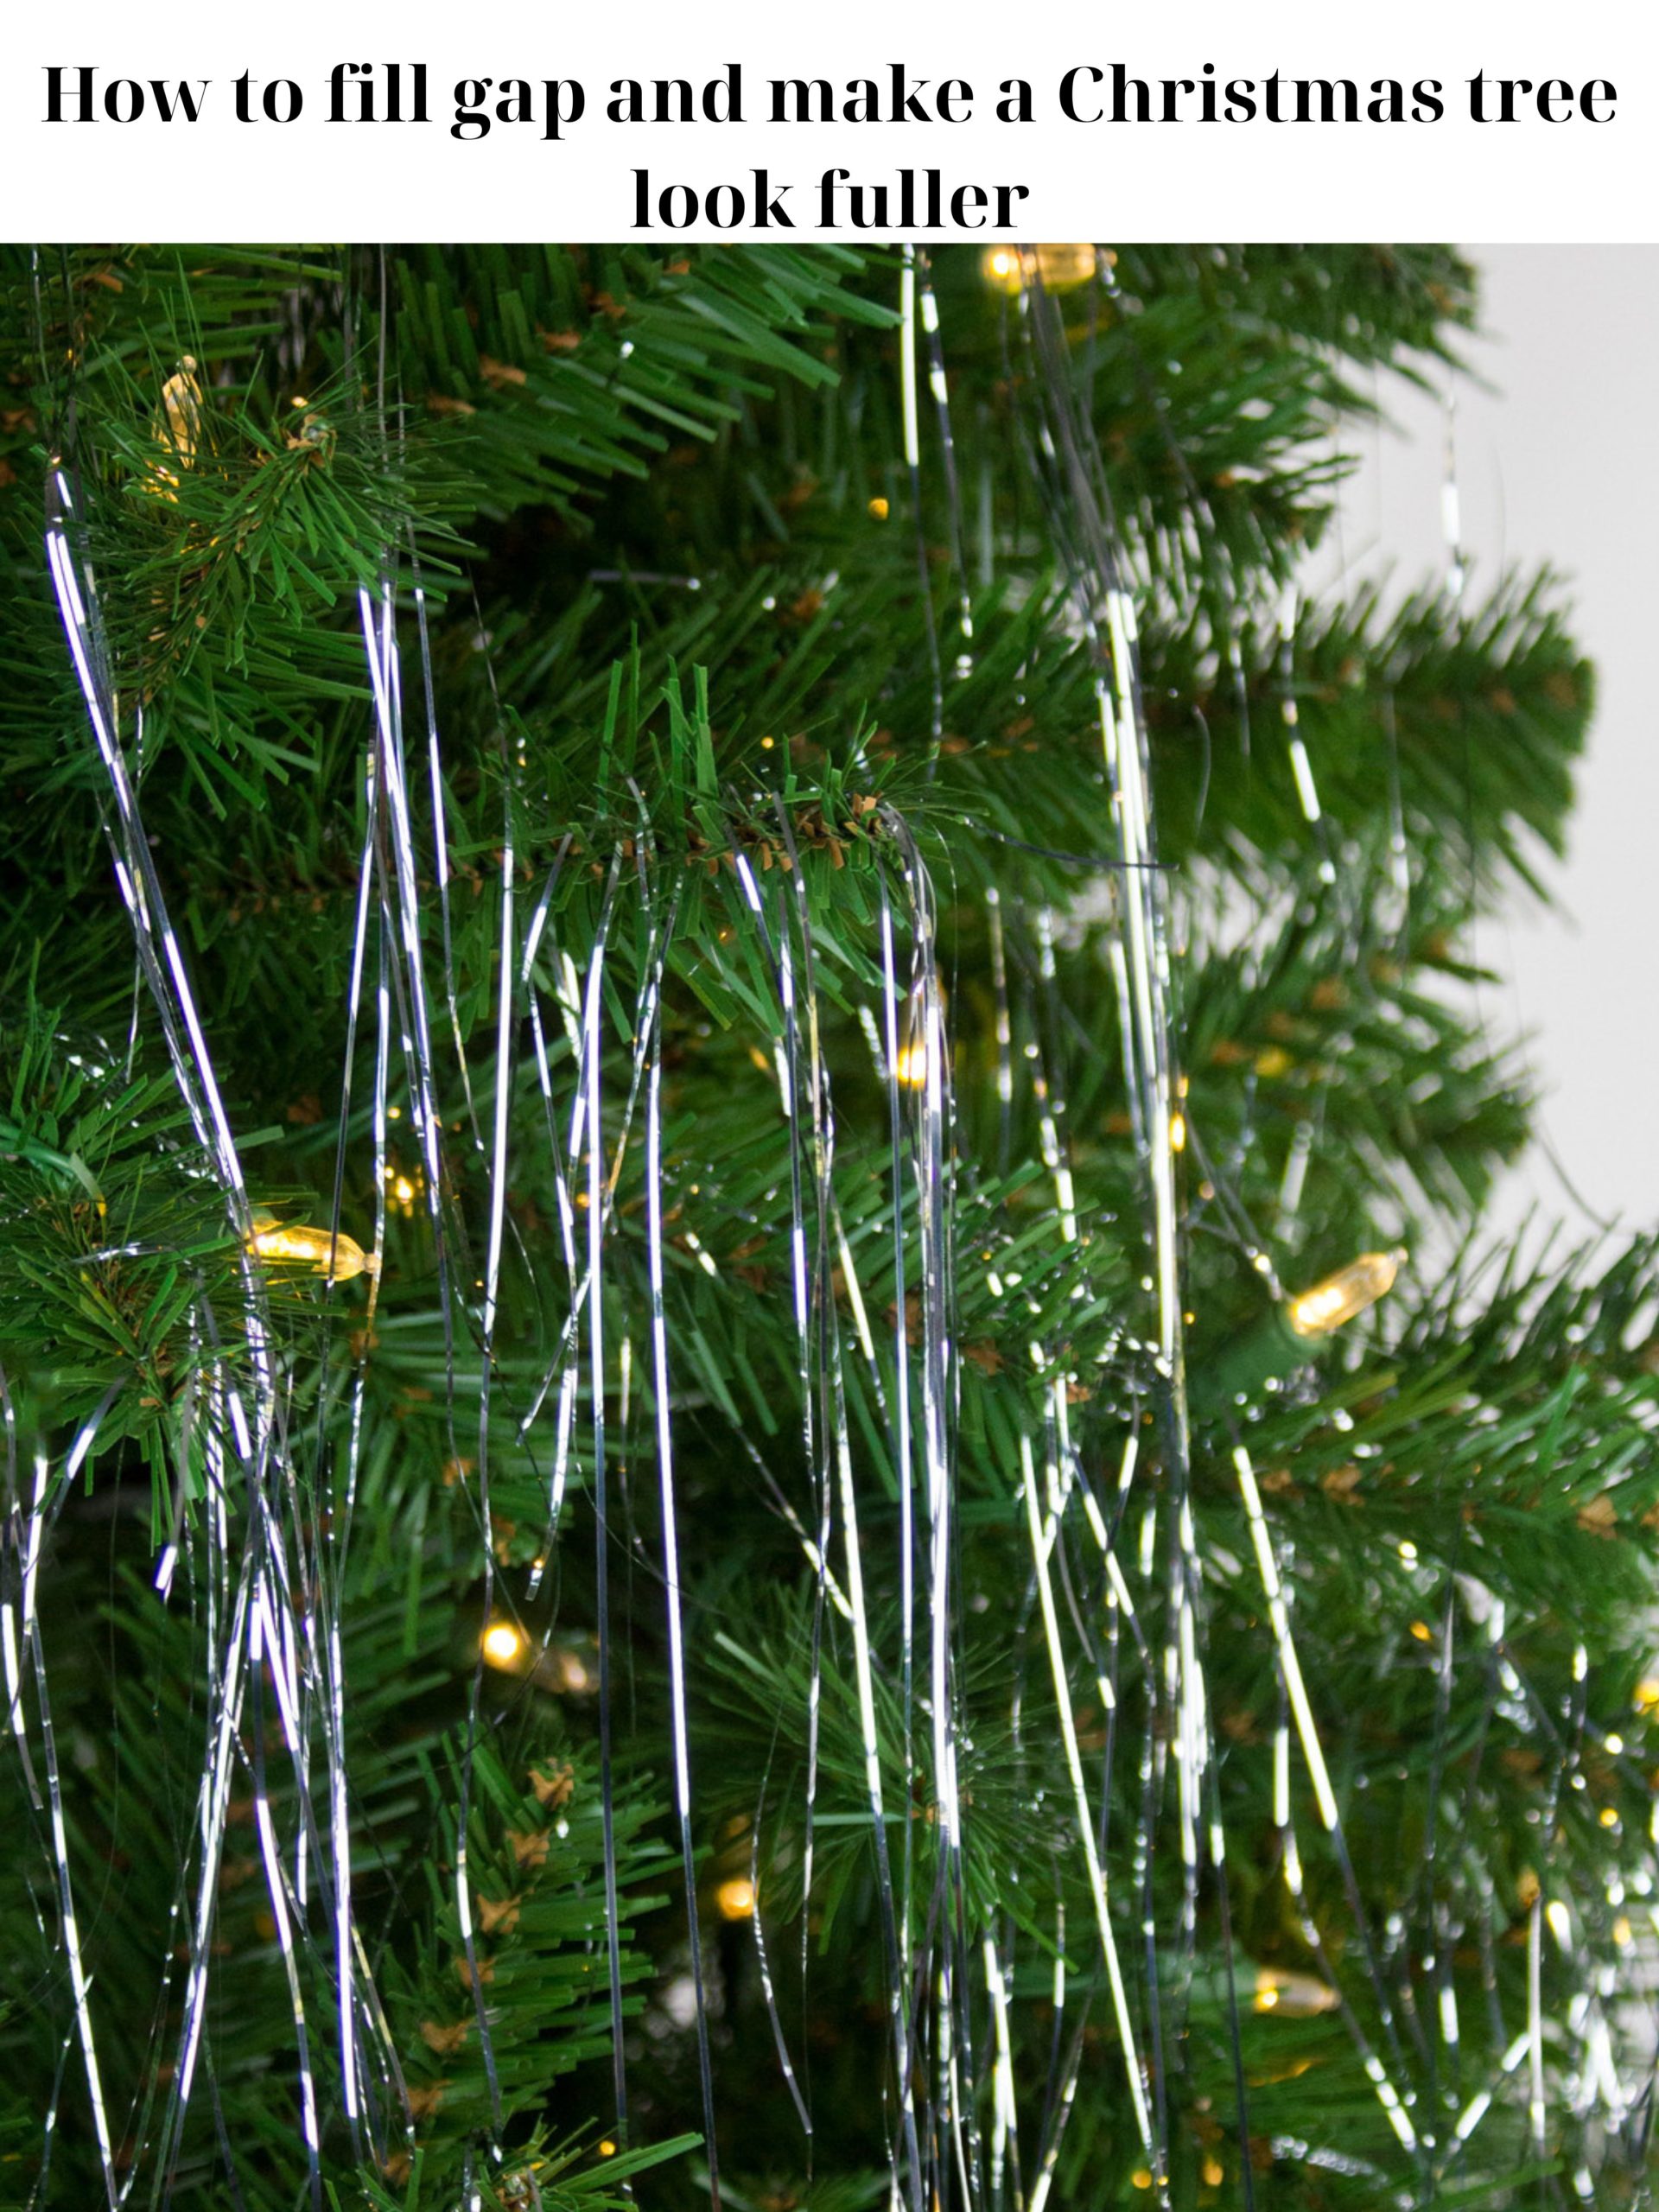
Top It With Tinsel
Top your tree with tinsel! If you’re a fan, it’s the perfect opportunity to let it loose. Cover any sparse spots by draping metallic tinsel on each branch. Tinsel fills a thin tree nicely because it drapes down in between the branches.
Use a Standout Tree Stand
For a standout tree stand, avoid the cheap look of an inexpensive plastic stand for your fake tree. Instead, try covering the stand with a homemade tree skirt (no sewing required) or placing it inside a large woven basket filled with pinecones. By giving your fake tree a sturdy base, it will look more realistic.
Decorate It With Big Bows
Decorating your tree with big bows is a great way to give it a fuller look. You can place bows in the sparse spots of your tree, depending on the look of your Christmas decorations. Using different sizes and colors of bows adds visual depth and creates a wow factor, especially if you’re into elaborate decor.
Create huge bows in varying sizes and designs, and attach them to the bare areas of your tree. To add more volume and hide open spaces, you can also make a big tree topper with streamers.
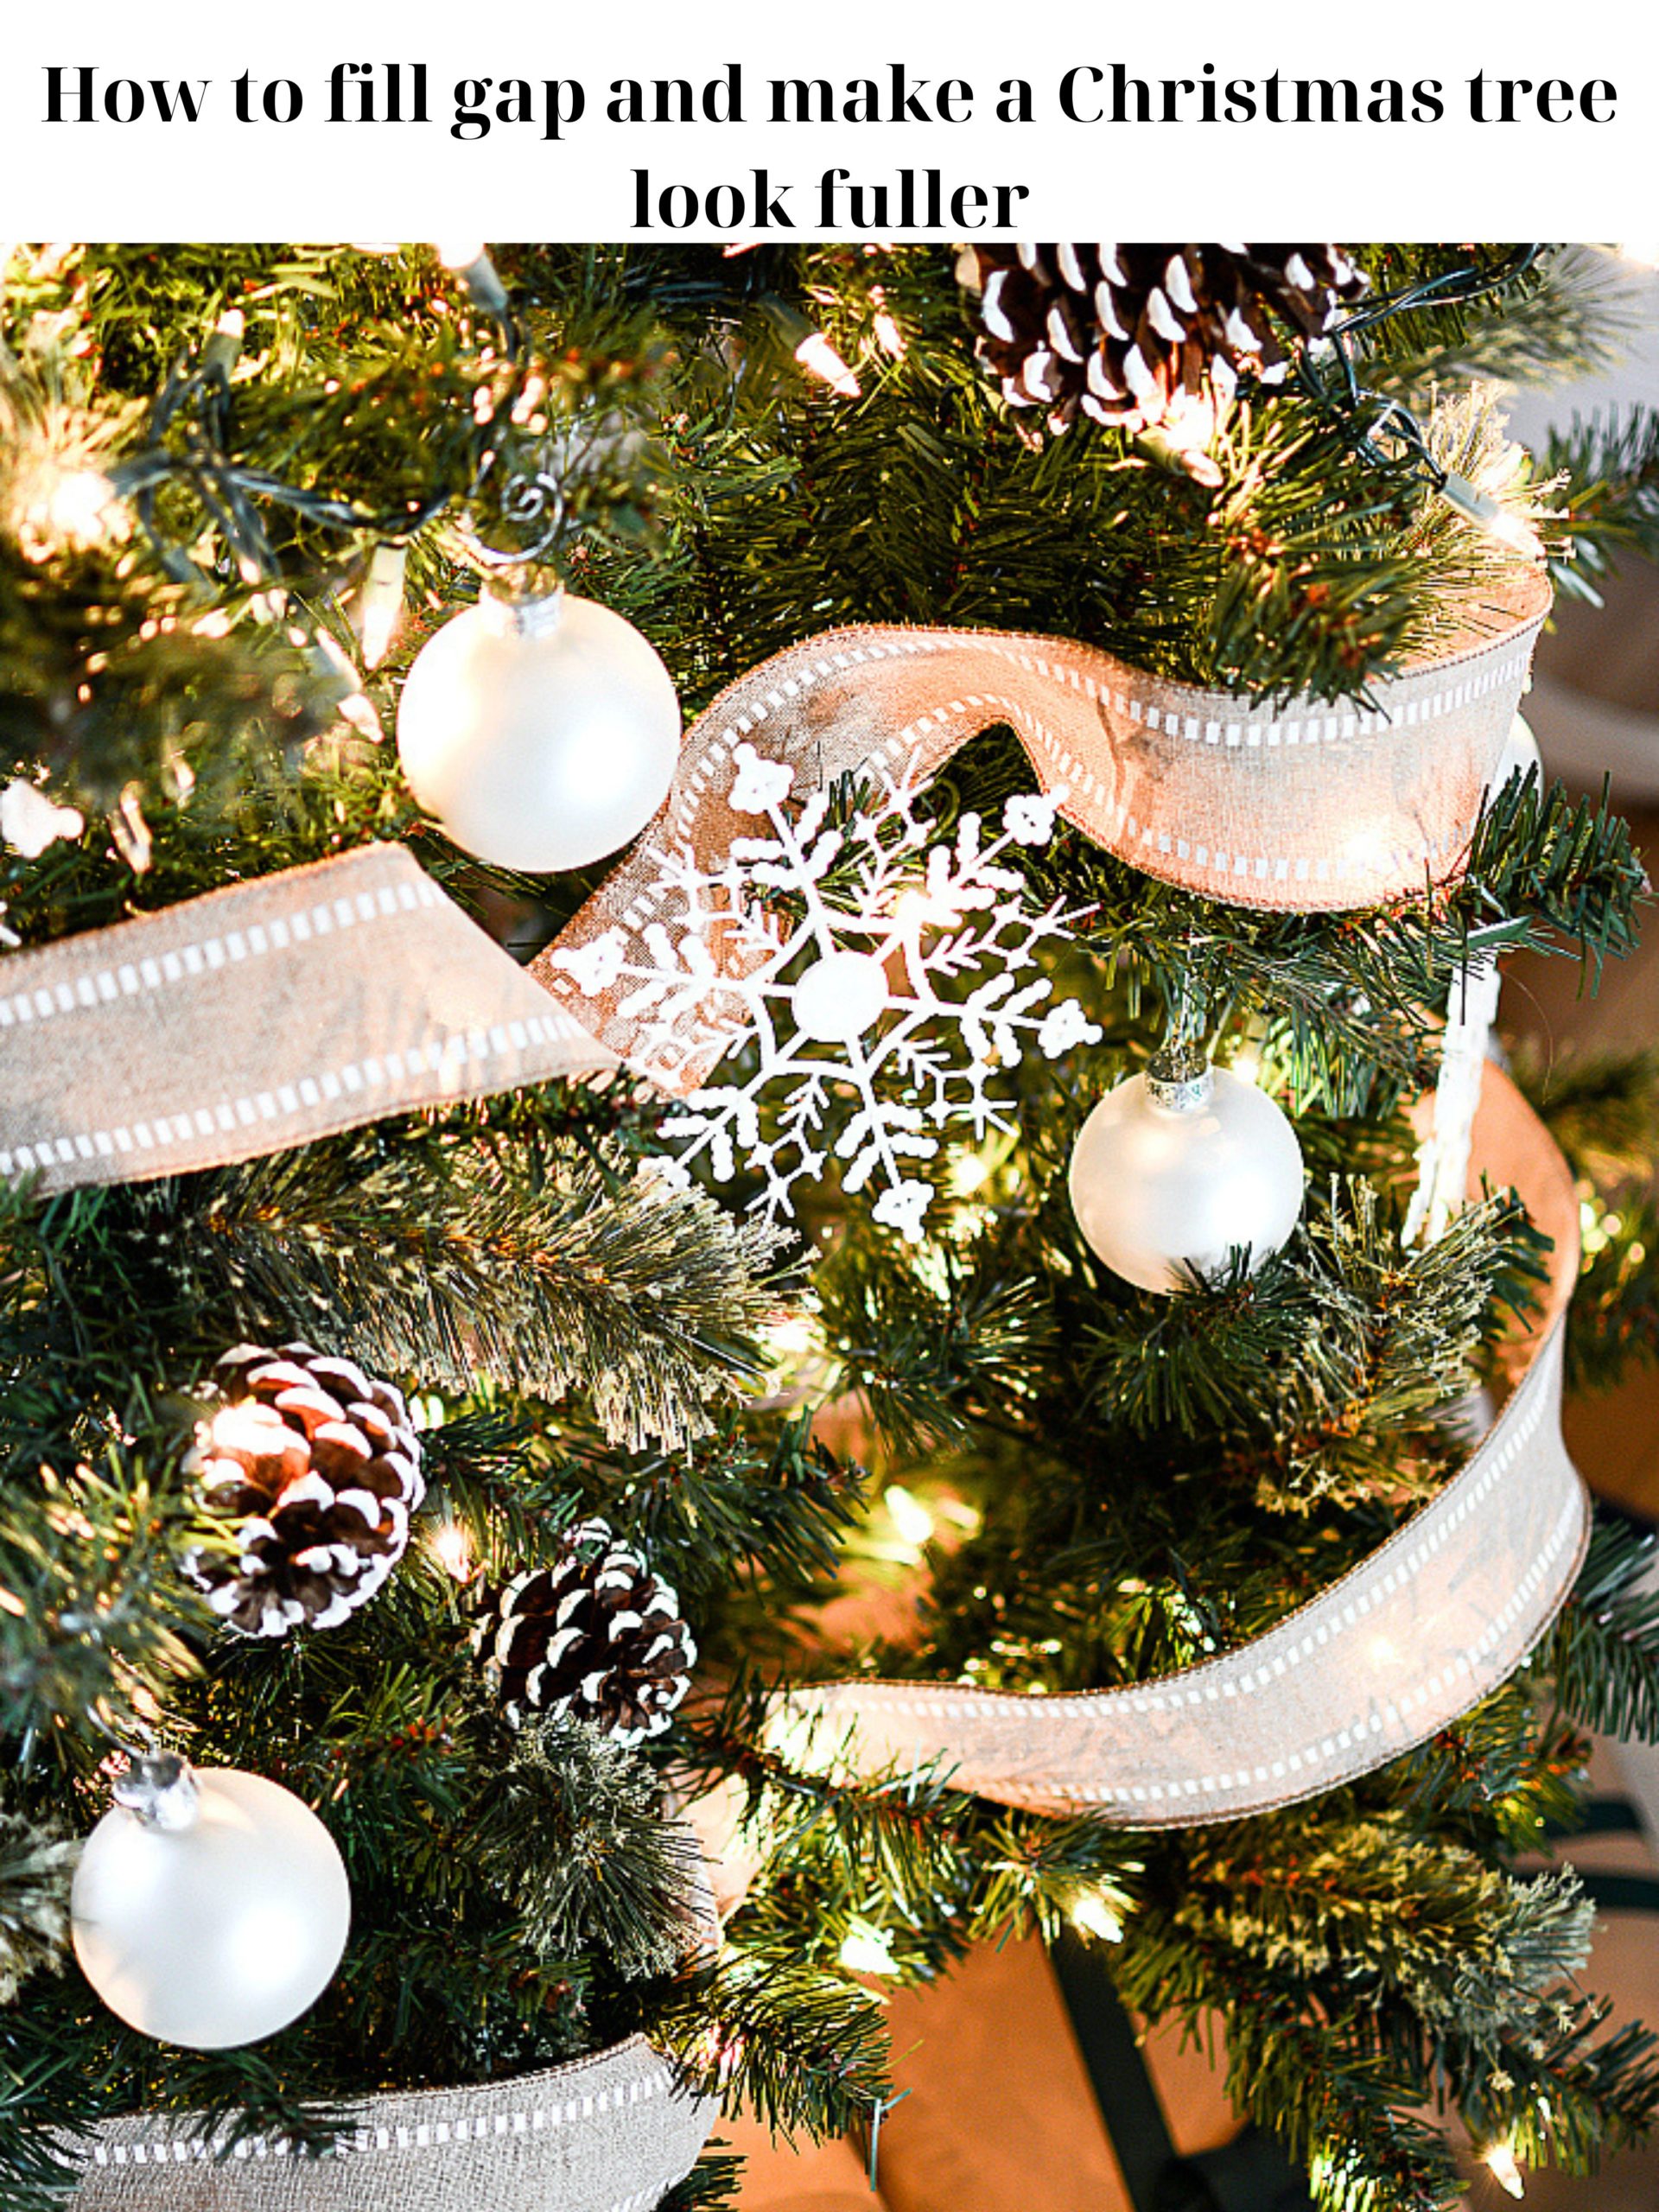
Add Ribbon and Pinecones
Adding ribbon and pinecones to your Christmas tree can greatly enhance its fullness and beauty. By wrapping a wide ribbon throughout the tree or shaping ribbons in a garland-style, you can fill in gaps and make the branches appear fuller. Consider using ribbons with wired edges to maintain your desired shape. Additionally, strategically placing pinecones and velvet ribbons on the tree can cover any bare spots and give it a lush appearance. These simple yet effective tips are applicable to both real and artificial trees, adding a festive touch to your holiday decor.
Play with scale
Playing with scale on your Christmas tree is a great way to create a visually appealing display. Instead of scaling down ornaments, consider incorporating larger versions to fill the space and give the tree a more significant presence.
You can also cluster ornaments of different sizes together, focusing on odd numbers for a more impactful look. Adding larger ornaments and ribbon can help create a grand and full look while filling empty areas of the tree.
Finish the tree high and low
Pay attention to both the top and the base. Choose a tree topper with the right scale; a too-small version will take away from its full appearance. If the tree reaches the room’s maximum height, consider a bow-style topper that still makes a statement without requiring extra space.
Finally, conceal a spindly trunk or unbalanced legs with a Christmas tree skirt or a collar.

Hi, my name is Phillip K. Weddle and I am the CEO of christmastreeblackfriday. I was born on May 18, 1966, and I currently reside at 2705 Bassel Street in Harahan, LA 70123. Being a Taurus, I am someone who is grounded, dependable, and enjoys the finer things in life. Before becoming the CEO, I worked as a Mold and Model maker at Robert Hall. However, my true passion lies in gardening, decoration, and DIY stuff, which is why I started this website. I wanted to bring together my love for the holidays and my enthusiasm for decoration and offer the best deals on Christmas trees at Black Friday.