

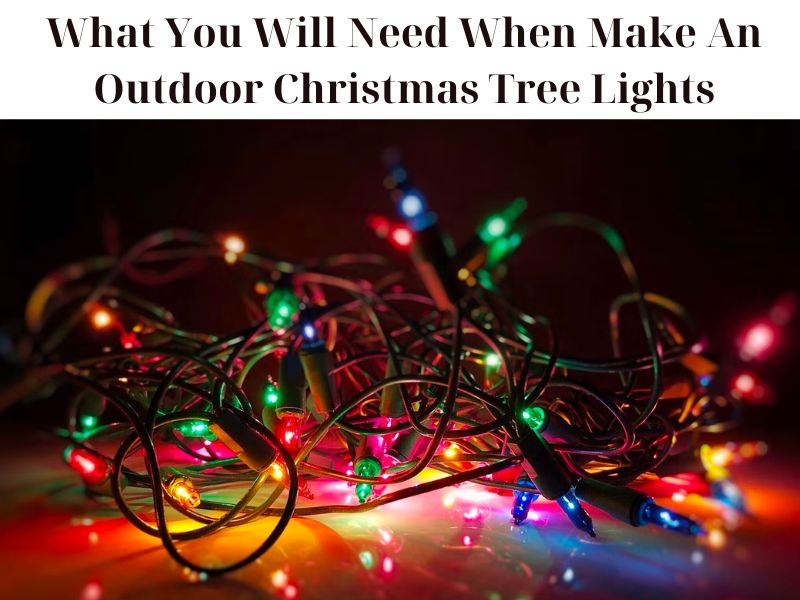
What You Will Need
For making an outdoor black friday christmas tree deals with lights, you don’t have to worry about complexity. It’s actually pretty simple and won’t take much time. Here’s what you’ll need:
– 1 ½” PVC Pipe
– T Posts (Make sure it fits into your pipe)
– Outdoor String Lights
– Landscaping Staples
– Spray Paint
– Reciprocating Saw Or Cutting Knife
Materials
– A ½” sheet of structural plywood
– A 36″ steel construction stake
– #8-32 x 2″ flat head zinc machine screws
– #8-32 type A zinc wing nuts
– ½” staples
– Exterior primer
– Exterior paint
– Exterior clear finish spray
– Outdoor string lights
Tools
– 1 basic wooden pallet
– A few wood screws (1″ to 2 1/4″ in size)
– Paint and brushes
– Sandpaper (60-80 grit)
– Safety glasses
– E12/C7 light stringers
– Bulbs with an E12 base
A Step-By-Step Tutorial On How To Create An Outdoor Christmas Tree
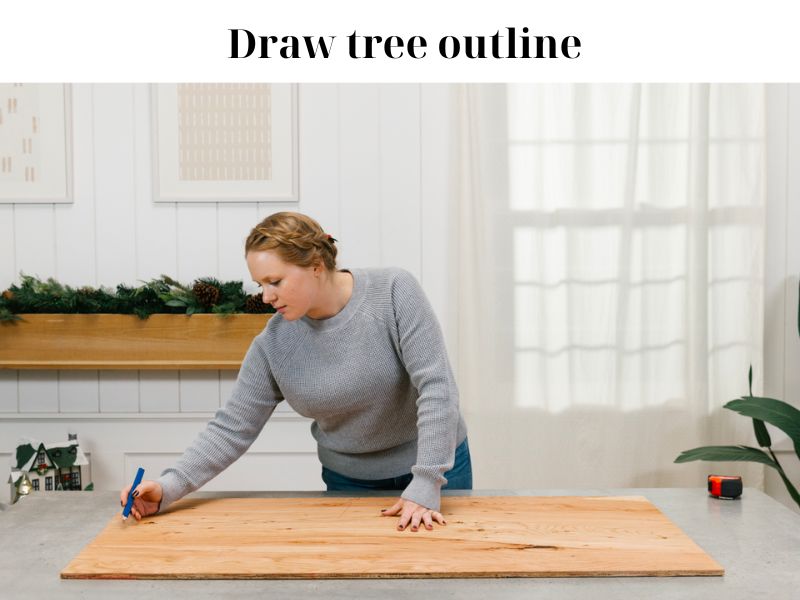
Step 1: Draw tree outline
Use a pencil to draw your tree outline on the side facing up—the “back.” You want to draw and cut on the back side of your plywood because a jig saw cuts on the upstroke, meaning the wood will splinter on the side facing up. This way, any splintering will be on the “back” side more than the “front.”
You can freehand your tree drawing, use a tape measure, or reference an outline.
Step 2: Cut Your Wood Planks
For safety, it’s important to wear protective eyewear and be cautious when placing your fingers under the plywood.
To start, clamp the plywood with the front side facing down on your work surface. If you don’t have clamps, ask a friend for assistance. Use the saw to trace your lines and cut out the tree shape.
Remember to reposition the plywood to avoid damaging your work surface. If you’re using a power saw, start it before making contact with the wood and gradually push the blade to begin your cut.
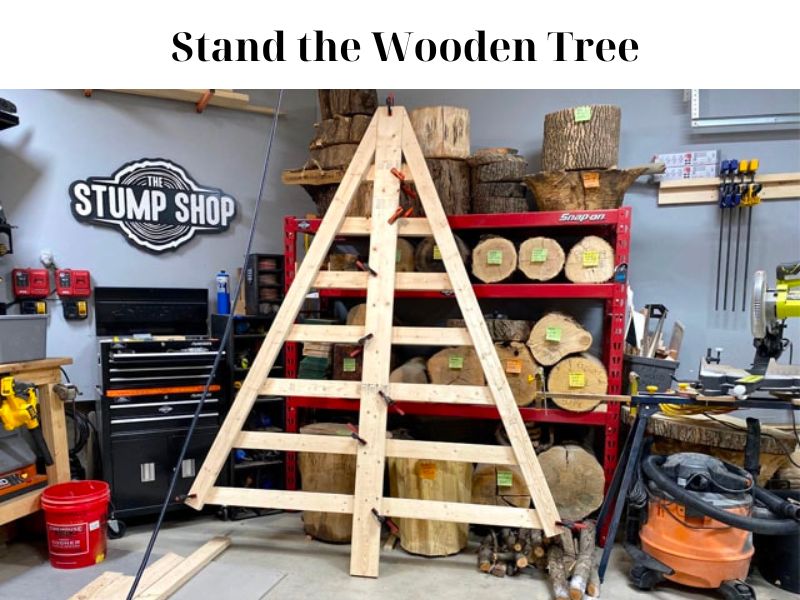
Step 3: Stand the Wooden Tree
To stand the wooden tree, first allow the wood glue to dry completely. Then, lift up the entire tree and secure it from the back using 2½” screws, making sure to drive one screw into each joint. This will reinforce the wood glue and ensure that no screws are visible from the front.
Step 4: Attach the Tree Base
Attach one of the 16 x 16” square plywood pieces to the bottom of the tree using two screws from underneath. To make it easier, lay the tree across a couple of sawhorses to access the bottom. Cut two support pieces and place them against the base of the tree for added support. Attach them with screws.

Step 5: Layout Your Boards and Paint
Layout your boards row by row to form the desired tree shape. You may need to cut some boards to fill out the intended shape, and boards from the back of your pallet can be useful for this. The spacing between the slats that will create the tree shape is up to you, but we recommend keeping them about 1″ to 2″ apart.
Clean up the boards with 60-80 grit sandpaper to remove any unwanted pieces, being careful not to remove too much texture. Now it’s time to paint. If using multiple colors, decide on the color pattern. Knowing the color of each board will help in sorting and painting them efficiently. Test paint colors on scrap wood pieces first to ensure they meets your preferences before proceeding.

Step 6: Apply finish coat
When the paint is dry, you can apply the finish on the faces, edges, and drilled holes of the tree. We opted for a glossy exterior spray finish from Varathane. It fully covers the drilled holes, eliminating the need for a smaller paint brush.

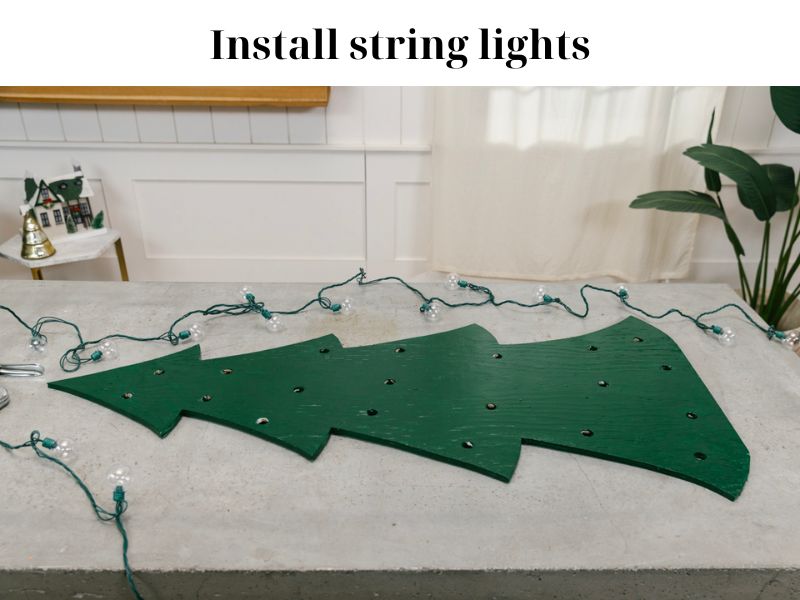
Step 7: Install string lights
To install string lights, start by placing a couple of blocks on your work surface. Next, lay your tree face down on top of the blocks or lean it against something to ensure easy access to both sides.
Position the string lights with the plug located at the base of the tree. From the back of the tree, insert individual lights through the drilled holes, securing the wire with a ½” staple on either side of the bulb base. Make sure the staple straddles the wire without shooting into it.
Repeat this process for all the drilled holes.
If there are any leftover bulbs, tuck them in the back and tidy up the wire. To hide the bulbs from behind, you can use tape as a masking technique.
Alternatively, you can use insulated cable staples and a hammer instead of a staple gun.
A Step-By-Step Tutorial On How To Made of Lights
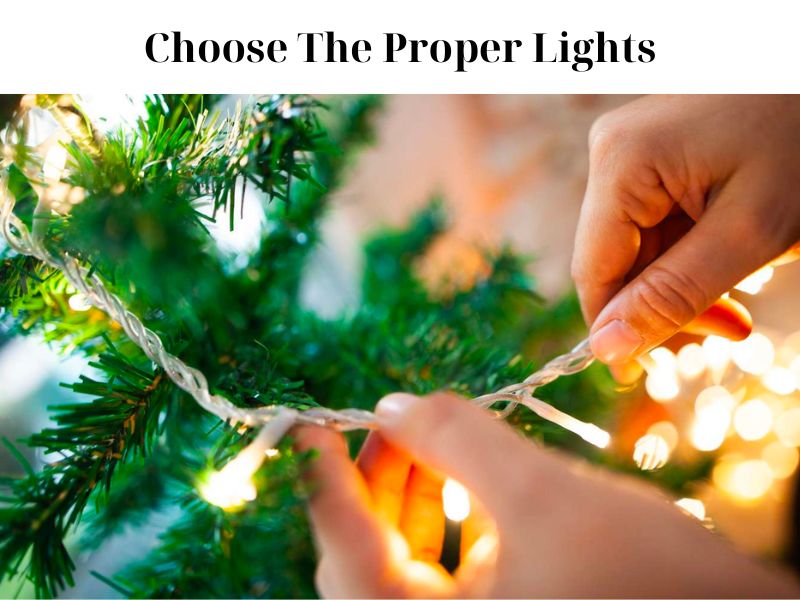
Step 1: Choose The Proper Lights
When it comes to creating a masterpiece made of lights, the first step is all about choosing the right kind of lights. It’s like selecting the perfect ingredients for a recipe.
Step 2: Cut Your Pipes
For this step, you’ll want to make sure you have a sturdy pair of scissors or pipe cutter to make the process easier. Measure the length of the pipe you need to fit your space and mark it with a pen or pencil. Then, make your cut using your scissors or pipe cutter.
It is important to make accurate cuts to ensure a sleek and professional look for your finished product. Additionally, take note of the diameter of your pipes to ensure your lights fit snugly inside. With these tips in mind, you’ll be ready to move on to the next step in no time!

Step 3: Cut Notches
Cutting precise notches into the wooden frame is a crucial step in creating a secure and well-placed light fixture. Using a saw with a fine blade, make careful cuts to avoid damaging the wires or bulbs. The size and spacing of the notches may vary based on the frame’s size and shape. Once the notches are ready, thread the lights through, ensuring each bulb is properly seated.

Step 4: Paint The Pipes
Paint The Pipes is an essential part of the process when creating your own made of lights. This step involves choosing the color of paint that will complement your overall design and is safe to use on metal surfaces.
It is recommended to use a spray paint that is specifically designed for metal, which will provide a smooth and long-lasting finish. It is important to paint each pipe evenly, covering any visible spots or imperfections. If you want to add some texture or an artistic touch, you can experiment with different painting techniques or use stencils to create patterns.

Step 5: Insert T-Posts In The Ground
T-posts are essential for supporting the weight of the lights and preventing them from sagging or tipping over. Begin by measuring the distance between each T-post, ensuring that they are evenly spaced. Next, use a post-hole digger or auger to create holes in the ground that are at least two feet deep. Insert the T-posts into the holes, making sure that they are secure and straight.

Step 6: Measure The Distance From The Base
To get an accurate measurement, use a measuring tape and take into account any obstacles or quirks in the placement area such as corners or protruding objects. It is also important to consider any power sources or switches nearby to ensure the lights can be easily plugged in and turned on and off.
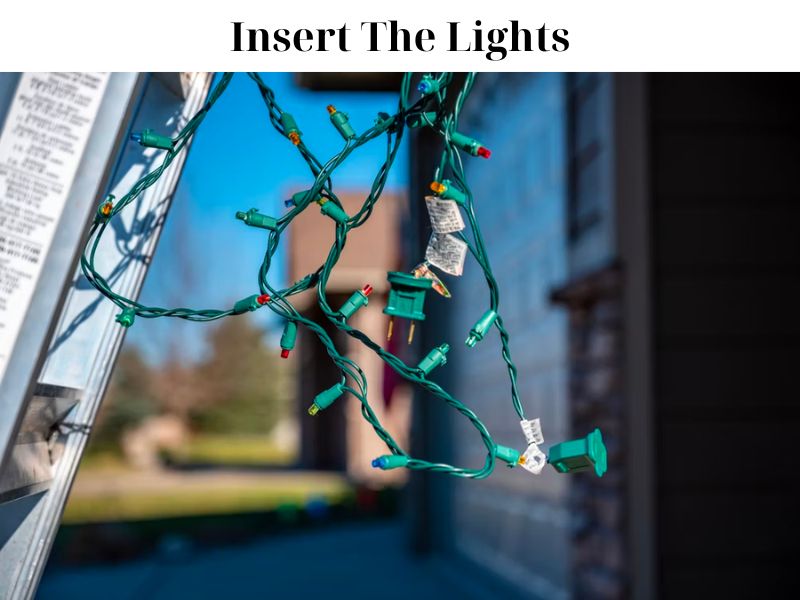
Step 7: Insert The Lights
Before beginning, it’s important to plan out where the lights will be placed and how they will be connected to ensure a seamless and efficient process.
Follow the manufacturer’s instructions for connecting the lights and be sure to use the proper tools and safety precautions. I
t’s also important to consider the brightness and color of the lights used, as they can drastically affect the overall look of the finished product.
Step 8: Connect The Lights
Connecting the lights is a critical process in the construction of light sets, and it can’t be skipped. You need to ensure that the lights are linked to the circuit correctly; otherwise, they won’t function.
Before you begin, double-check all of your connections to confirm that everything is in its proper place. You don’t want to have to go back and redo any aspects of the project.
Next, join the positive and negative cables between each bulb. This may be accomplished with wire nuts, electrical tape, or by twisting the two cables together. Once everything is connected securely, verify that the circuit can make the lights brighten.
It’s always a good idea to check with a voltage meter before plugging in the power source to be sure all is in order. Once the circuit is verified to be working correctly, you’re ready to enjoy your beautifully crafted lights.


Hi, my name is Phillip K. Weddle and I am the CEO of christmastreeblackfriday. I was born on May 18, 1966, and I currently reside at 2705 Bassel Street in Harahan, LA 70123. Being a Taurus, I am someone who is grounded, dependable, and enjoys the finer things in life. Before becoming the CEO, I worked as a Mold and Model maker at Robert Hall. However, my true passion lies in gardening, decoration, and DIY stuff, which is why I started this website. I wanted to bring together my love for the holidays and my enthusiasm for decoration and offer the best deals on Christmas trees at Black Friday.